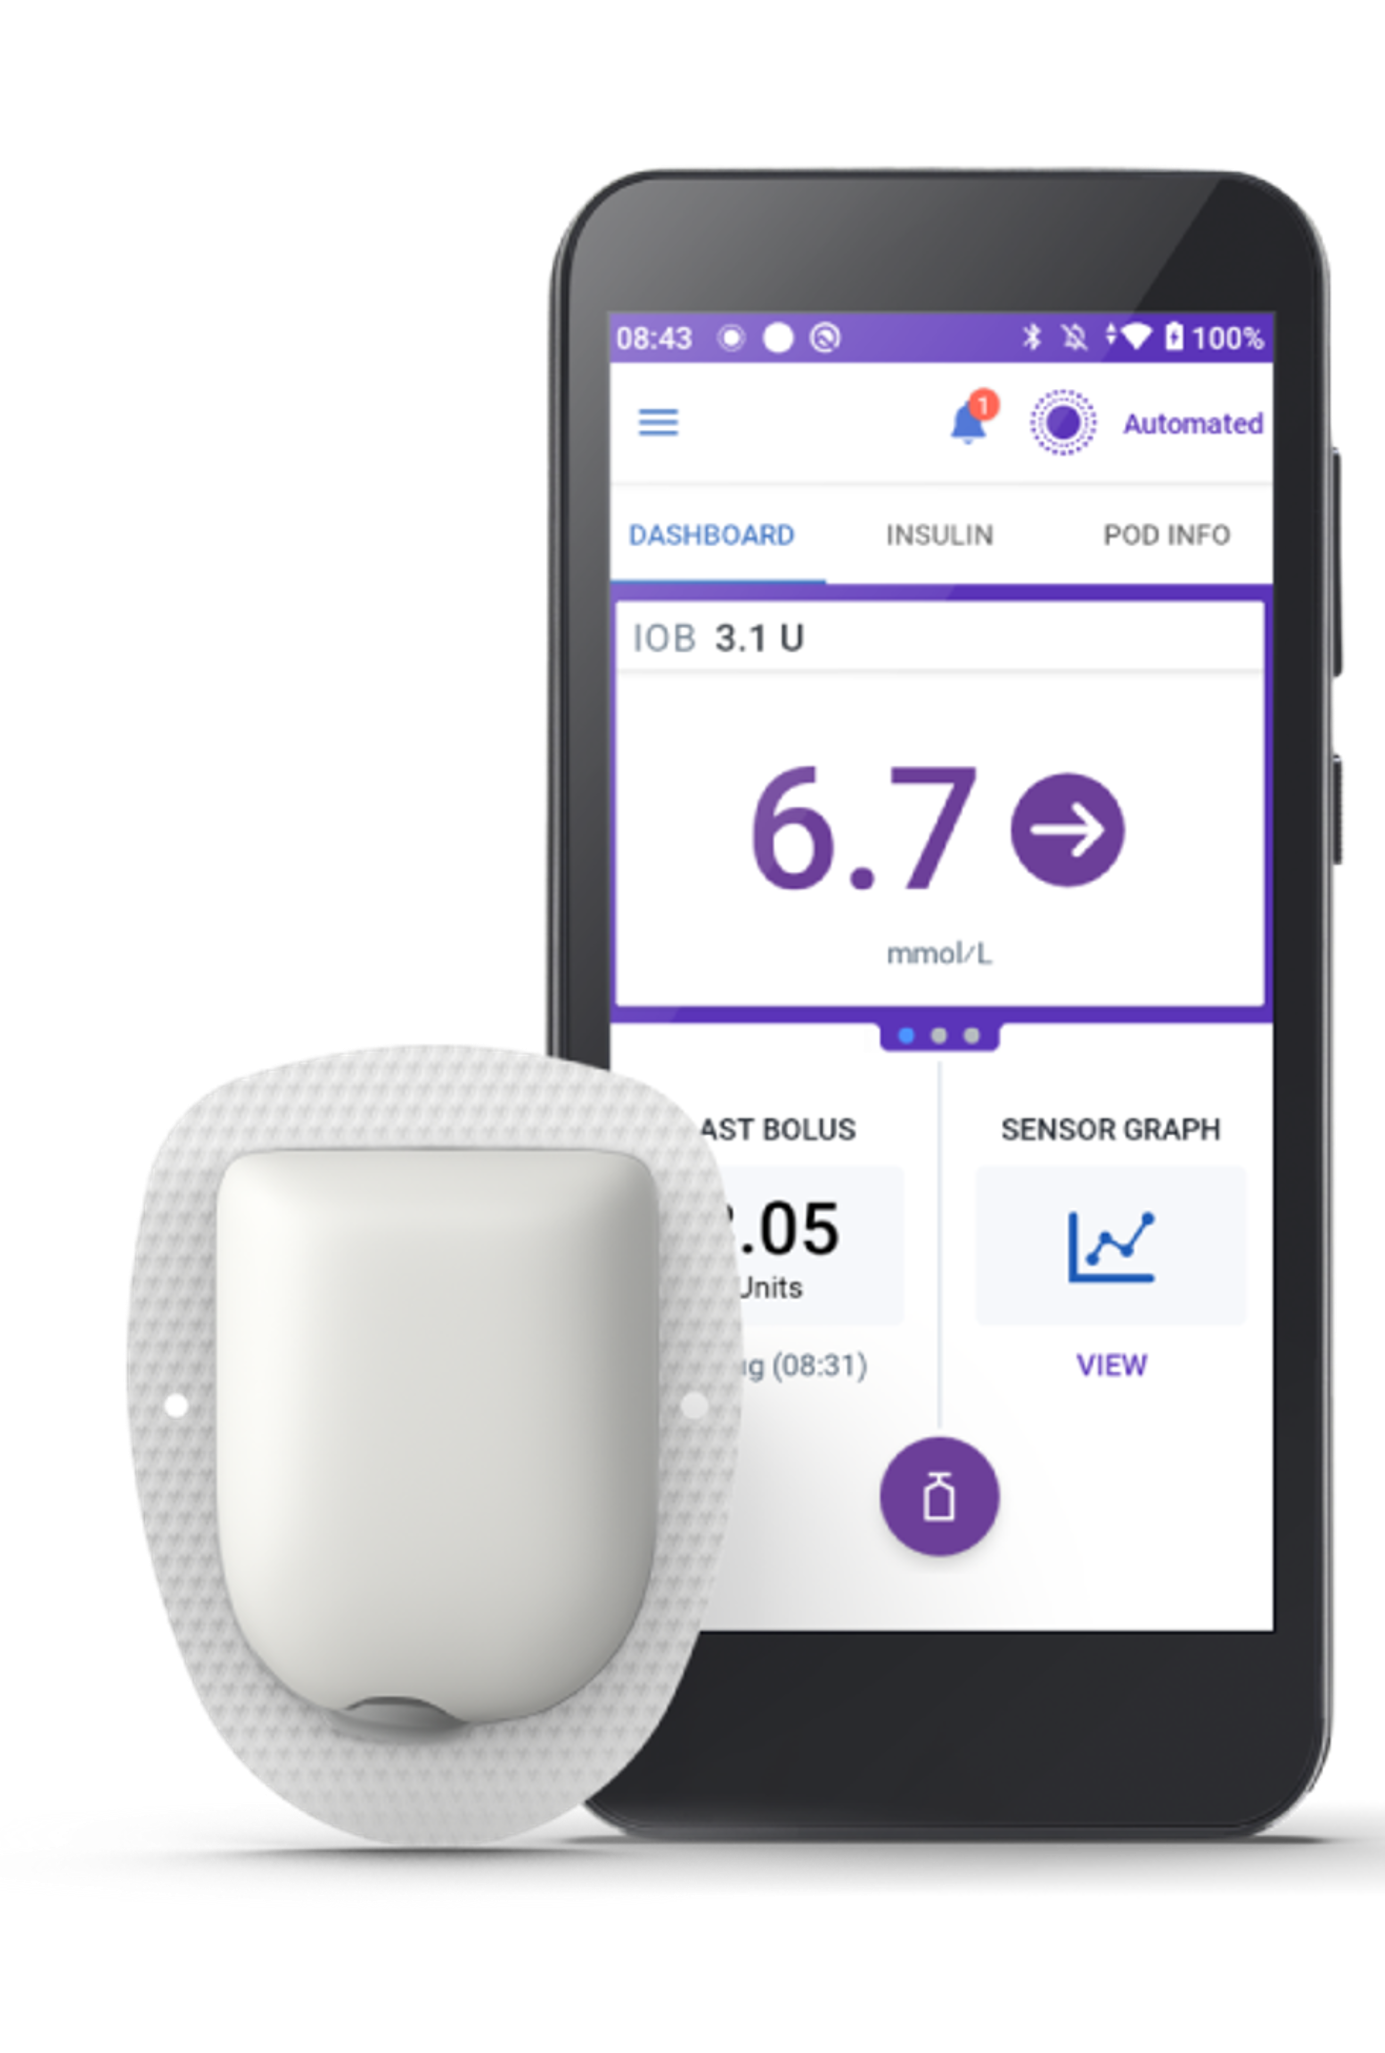
Omnipod 5
Compatible with these glucose sensors:
Dexcom G6
Dexcom G7
Topics
- Features & Algorithm
- Adjusting for Hypo
- Adjusting for Hyper
- Exercise Options
- Pregnancy (not indicated)
- Training
- Reports: Glooko
- Company Contacts
Related:
Omnipod 5 Key Features
- Automated Insulin Delivery (AID) pod pump that adjusts basal insulin up, down, on or off every few minutes. Boluses (meal and correction) are delivered by the user using the pump calculator.
- Tubeless, waterproof pods adhere to skin, contain the cannula and algorithm. Pods communicate wirelessly to a "Controller" that looks like a cell phone. The user needs a cell phone to activate each Dexcom glucose sensor from a Dexcom app. A phone is not needed again until the sensor is deactivated and a new one is inserted. After sensor set-up, the sensor communicates directly with the pod and pod directly with the Controller.
- Safety: As with any AID pump, If A1c is very very high, consider a higher initial glucose target. Rapid A1c drops (~2% in 3 months) may risk retinopathy changes or, rarely, painful treatment induced neuropathy of diabetes (TIND) or insulin edema.
SmartAdjust Algorithm - What Can & Cannot be Adjusted
- The following can be adjusted by the user:
- Target glucose: 6.1, 6.7, 7.2, 7.8 and 8.3 mmol/L with up to 8 time segments per day.
- Carb Ratio: usually stronger is required at start; patients can store "custom foods" with CHO content
- ISF (corrections) are manual via the SmartBolus Calculator
- Correct Above
- Duration of Insulin Action: often 3-4 hrs with initial starts. Available 2-6 hrs.This impacts DIA of the boluses delivered.
- Reverse Correction: turn off for most as it withholds insulin; it is 'on' by default. (three horizontal lines top left > settings > bolus)
- "Use Sensor" in Bolus Calculator: Tapping this allows the algorithm to consider the following in its dose suggestion: 1) correction dose using manual ISF as intended by the system, 2) subtraction of IOB from correction insulin and 3) insulin adjustment for CGM arrows. If “use sensor” is not tapped, or a manual blood glucose reading is not entered, no correction is given, no IOB is subtracted and no insulin adjustment is made for CGM arrows. Only insulin for grams of carbohyrate inputted or units mannually inputted would be delivered.
- Patient bolusing & pre-boluses practices are important as per most AID pumps.
- (No extended bolus and no temp basal are available in automated mode)
- (The max basal setting does not impact max adaptive basal delivery when in SmartAdjust. It only impacts max manual basal delivery.)
- The following cannot be adjusting by the user:
- Basal Rates (Adaptive Basal Rates)
Optimization of Omnipod 5 Algorithm
- Users who obtained more than 80% Time in Range eventually used the following settings. (Source: Summary of Retrospecive RWE data 2025 information pages.)
- Target: 6.1 mmol/L
- 83/TTDD = ISF
- 350/TDD = Carb Ratio
- (Additional not in the study, consider Active Insulin Time of 3 -3.5 hours)
Additional Algorithm Notes
- Adaptive Basal Rate is determined from the TDD of past 4-5 pods.
- POD#1: For the first 48 hours, basal delivery is determined from programmed basal and TDD until an adaptive basal is calculated for the next pod. This is a conservative dose; consider starting at ~50% of MDI TDD or other pump's TDD/24 (if switching), without the usual 25% reduction or transferring old basal settings. Expect the first 2-3 days' time in range to be lower than desired. It will improve with each pod. Advise to bolus with all carb intake. Give realistic expectations.
- POD #2 (at least 48 hrs after pod 1): The algorithm adjusts using total daily insulin from first pod and can start modulating up to 4 X adaptive basal rate.
- Optimization could take a few weeks, or less.
- Automated Mode Limited starts 20 minutes after loss of sensor reading and uses the lower of either the programmed basal rates or the adaptive basal rate. An alarm triggers after 60 minutes of no sensor data.
- Insulin on Board (IOB) = Meal IOB + Correction IOB (from manual corrections + insulin above the adaptive basal rate) .
- Automated Mode Limited occurs after 20 minutes of no sensor value. The pod will use the lesser of these: the programmed basal rate or the Adapted Basal Rated. At 60 min, the "Missing Sesnor Values" alarm occurs.
- Automated Delivery Restriction: Insuiln has been paused or delivering the max amount for too long. Follow instructions on screen (do blood glucose, identify cause, must switch to Manual Mode for a minimum of 5 minutes.)
- Tunneling: Remind patients to change the pod if the pod's material is wet (insulin travelled back up the cannula). It can occur with movement of the pod depending on site, laying on pod and after bigger boluses.It may only be visible on the back of the pod vs the side material, so advise to change pod with unexpected higher readings that won't come down.
- Important to remind patients: After each sensor change and warm-up, the PDM prompts the user to go back into Automated Mode. If they do not manually re-enter this mode, the pump will function in manual mode.
- Insulin on Board (IOB): for determination of boluses in the bolus calculator (see page 263 of tehcnical user guide):
- Correction bolus = (prelim. correction bolus - meal IOB) - correction IOB (which includes automated insulin delivery above the "adaptive" basal rate). The meal IOB is subtracted first. If the preliminary correction bolus is still above zero, then the correction IOB is subtracted.
- Meal bolus = prelim. meal bolus - remaining correction IOB. Meal IOB is never subtracted from a meal bolus. Only a remaining correction IOB (which includes automated insulin delivery above the "adaptive" basal rate) is subtracted from a meal bolus.
Adjusting for Hypoglycemia
Be aware that the only glucose alarm issued by the OP5 Controller is an urgent low of 3.1 mmol/L or less. All other sensor alerts or alarms occur only through the Dexcom app on the patient's phone.
If recurrently hypoglycemia, assess the appropriateness of using the following:
- Increase the glucose target
- Make Carb Ratio less aggressive
- Make ISF less aggressive
- If forget to bolus:
- > 30 min (<60 min) after eating, remind to only enter 50% of carbs;
- > 60 min after a meal, advise not to enter carb. Just correct.
- Adjust the "Duration of Insulin Action". It impacts the DIA of bolus insulin.
- Adjust the "Correct Above" glucose level.
- Assess if bolus calcuator overrides are appropriate
- If a frequent boluser, suggest they tap "Use Sensor" with each bolus. This allows all IOB from past meals and corrections (which includes insulin above adaptive basal rate) to be subtracted to prevent stacking if the carb ratio is not accurate.
- Ask if the patient has been tapping "use sensor" in the bolus calculator for each bolus. If they have not, the system will not subtract insulin on board. This may or may not be a concern depending on the cirucmstance.
- See "Exercise Options" (click here) for additional strategies
Adjusting for Hyperglycemia
Consider the following as appropriate for the patient. In all cases, review the need to assess for tunneling and to test for ketones when over 14 mmol/L.- Important to remind patients: After each sensor change and warm-up, the PDM prompts the user to go back into Automated Mode. If they do not manually re-enter this mode, the pump will function in manual mode.
- Check that "Reverse Correction" is off.
- Lower the glucose target
- Remind to bolus and pre-bolus
- Make Carb Ratio more aggressive by up to 20%-25%
- Set "Correct above" to equal the target glucose e.g. 6.1 mmol/L
- Remind to tap "Use Sensor" on the bolus calculator screen to transfer glucose reading and trend into the calculations to allow for adequate correction. (However, this will also subtract all IOB from calculations).
- Give another correction through the calculator if highs are not responding to the automated insulin delivery
- Make ISF more aggressive
- At times, depending on the circumstances, not tapping "use sensor" may be an option e.g.. A high glucose reading and unsure how much will be eaten or the plan is to snack fequently close together. After eating and bolusing with "use sensor" for the first part of the meal (or the first snack) a second bolus may be given without hitting "use sensor" for the second part of the meal or the second snack that is close in time. (scenario on p 239-240 in technical user guide). Otherwise, it is possible the numerous calculations could subtract some correction IOB from the meal/second snack. (see p 263 of technical user guide). The other option is to tap "use sensor" and override the bolus suggestion if it appears to be too little.
- Verify that hypoglycemia is not over-treated with glucose
- Assess, and if necessary, adjust the "Duration of Insulin Action" as it is used to determine remaining bolus insulin.
- If > 10% time in "Limited" mode, assess and troubleshoot sensor connections.
- If highs secondary high fat and protein that don't respond to normal bolusing, consider a second bolus 90 minutes pc.
- For "topping up" insulin with transitory expected high readings e.g. after a milkshake, be aware that a sensor glucose of over 22.2 mmol/L will not be used by the bolus calculator. Options, when considering safety, could include:
- Input blood glucose reading (not sensor glucose) up to 33.3 mmol/L in the bolus calculator to determine extra correction.
- Or input "top up" grams of carb or units of insulin, but do not hit "use sensor". No IOB will be subtracted.
- Or over-ride the bolus calculator suggestion after checking the bolus calculations.
- Assess for insulin tunneling (leakage). Any pump brand's cannulas can be affected as insulin can track back along the cannula and soak the adhesive material, often from site movement or larger boluses. Pods may be more prone as their weight may increase movement. To reduce tunneling or its impact, consider:
- Teaching patients when and how to assess for tunneling
- Trying sites with less movement, and avoiding sleeping on pods.
- Encouraging earlier pod changes on a regular basis, as soaking from tunneling may not be visible underneath pods.
- Applying Tegaderm to the skin first, then inserting the pod on top to support the cannula. Check glucose soon after to ensure the cannula has not kinked.
- Using over-patches and tapes to secure the pod and reduce movement.
- Consider splitting big boluses into two deliveries. Some patients independently decide to split boluses bigger than 5 units into two deliveries, if particularly impacted by insulin volume and tunneling.
- Discussing the use of U200 with the physician and patient to lower the volume of insulin. Numerous safety steps are required.
Exercise Options
Suggestions require individualizing depending on the patient, level of fitness, and the type, duration and intensity of exercise. In general, sustained, aerobic exercise tends to lower glucose levels; anaerobic or competitive activity tends to increase glucose levels.
For activities that tend to lower glucose levels, consider one or more of the following strategies, to help prevent lows.
- Advise to start the "Activity" feature 60-120 min prior to starting activity, during and potentially after exercise. This setting further will do both of these: reduce automated insulin delivery by 50% and set target to 8.3 mmol/L. This is more conservative than just an 8.3 mmol/L target alone. It can be set from 1 hr to 24 hrs in 1 hr increments.
- If the activity occurs within 2 h after a meal, consider decreasing the meal-time bolus by up to 33%
- Avoid large snacks or high glucose readings prior to exercise as can result in increased insulin delivery.
Pregnancy
Omnipod 5 is not indicated for use in pregnancy. This article (click here) reviews two cases of OP5 used in pregnancy.
Training
- Omnipod 5 Summary of Setup Steps
(remember to check bottom right of screens for next steps or to activate some settings)- At home, the patient:
- Creates an Omnipod ID at https://www.omnipod.com/setup. This is needed to login and set up the controller at the pump start appointment.
- Creates a Glooko Account:.Glooko - Registration. It may be easier to use same password as above.
- Some clinics ask the patient to completes all of "onboarding" instructions inside the Controller. Some ask the patient to just login into the controller, and do onboarding with the trainer.
- watches all the Omnipod 5 instruction videos here.
- Pump Trainer - have patient turn on controller and walk through the key steps per the automated setups steps.
- 1. Input of insulin doses
- 2. Setup of a pod
- 3. Connection of Dexcom
- NEXT: Turn Reverse Correction off: On the DASHBOARD, tap the three horizontal lines on top left of the controller. Choose Settings > Bolus.
- Verify Insulin mode: on DASHboard, tap INSULIN (near top, middle) to see if Automated Mode: Active (if you see "Everyday" with blue basal rate bars, that is manual modle.)
- To change between manual and automated mode: Tap the three horizontal lines on top left of the controller > Switch Mode.
- To change carb ratios or correction factors: Tap the three horizontal lines on top left of the controller > Bolus > (tap the blue text under Insulin to carb Ratio or Correction Factor)
- Important to remind patients: After each sensor change and warm-up, the PDM prompts the user to go back into Automated Mode. If they do not manually re-enter this mode, the pump will function in manual mode.
- At home, the patient:
- Omnipod 5 (OP5) Training Resources
- Technical User Guide, Omnipod 5
- All patient and educator Omnipod 5 resources in one place
- PREVIOUS recorded Canadian OP5 webinars are here.
- "Omnipod 5 Simulator" app on Apple store and Google play. Click the tiny print "Switch to Guided Experience" first, prior to clicking "Try the Simulator". This will allow you to input settings. You will also be required to put in your own personal 4 digit code twice.
- Omnipod 5 - Pro Tips videos (U.S.) - note, they have a phone app, not a separate controller.
- CPT exam site
- DASH
- Virtual DASH PDM (Choose U.K. as country)
- DASH HCP Quick Start Guide (2 pages)
- DASH Patient Quick Start Guide (20 pages)
- Full DASH User Guide
- DASH training videos
- Notes: If the personal PIN is forgotten, the last 4 digits of the serial number will unlock the PDM. Also, to silence a "screaming" pod that cannot be deactivated from the PDM, insert a paperclip into the hole on the back of the pod on the opposite side of the cannula).
- Eros (oldest pods and sytem)
- Eros System User Guide
- Eros - how to change a pod
Reports - Glooko
- Omnipod 5 - interpretting reports and taking action ( Panthertool PDF for Omnipod 5. Note, this PDF is from UK. Canada's Omninpod 5 only works with Dexcom 6.)
- Red bars on sensor graph indicate basal insulin is paused; orange bars indicate the system has reached its maximum insulin delivery.
- History Detail > Auto Events tab to view how much insulin was delivered every 5 minutes.
- "Custom Foods" are indicated in report if chosen.
- Can only review reports via connection to Glooko clinic account. The controller does not plug into a Glooko box or computer.
- To determine actual basal given per hour, review Auto Events in History and add up each 5 minute delivery.
- Glooko Health Care Provider Reports Summary (U.S.)
- Glooko Legend (icons) eg. for set changes etc
- Instructions for patients to link their data to DCC clinic account...see Heading "To Upload Diabetes Devices" on the Diabetes Appt Preparation Page
Company Contacts
- Omnipod Canada Website
- Customer care:1.855.POD.INFO (1.855.763.4636)
- Vacation loaner requests 1-855-Pod-Info (763-4636)
- Jodi Beer 403-594-2194 Calgary area rep
- Sarah Iqbal-Khan 416-540-4688 Senior Market Access Manager